Applying a waterproof sealant is a common practice for protecting surfaces against moisture intrusion, preventing leaks, and extending the lifespan of various materials. However, the effectiveness of any sealant hinges significantly on the condition of the surface it’s applied to. A properly cleaned and prepared surface ensures optimal adhesion, durability, and the overall success of the waterproofing effort. Neglecting this crucial preparatory step can lead to premature sealant failure, requiring costly reapplication and potentially causing damage to the underlying structure.
This article explores essential methods for cleaning a surface before applying waterproof sealant. We’ll examine what truly constitutes a clean surface for this application, differentiate between general cleaning and specific surface preparation, discuss common challenges, and guide you in selecting the right approach for your project.
Key Differences Between General Cleaning and Surface Preparation for Sealant
While the terms “general cleaning” and “surface preparation for sealant” might seem interchangeable, they represent distinct levels of attention and purpose. Understanding this distinction is fundamental to achieving a lasting waterproof seal.
General cleaning typically involves removing visible dirt, dust, loose debris, and superficial grime. This might include sweeping, vacuuming, wiping with a damp cloth, or hosing down a surface. The goal is to make a surface appear tidy and free of obvious contaminants. For instance, cleaning a patio before hosting a barbecue is general cleaning. The aim isn’t necessarily about creating a chemically pristine or perfectly textured surface for bonding.
Surface preparation for sealant, on the other hand, is a much more rigorous and targeted process. Its primary objective is to create an ideal substrate for the sealant to bond with, ensuring maximum adhesion and long-term performance. This goes beyond mere aesthetics. It involves:
- Removing invisible contaminants: This includes oils, grease, waxes, release agents, efflorescence, mildew, and chemical residues that might not be readily apparent but will severely inhibit sealant adhesion.
- Achieving appropriate surface profile: Some sealants bond best to a slightly roughened or etched surface. This might involve sanding, grinding, or chemical etching, a process often referred to as creating a “profile.”
- Ensuring proper dryness: Moisture, even at microscopic levels within the substrate, can compromise adhesion and lead to blistering or delamination of the sealant.
- Neutralizing pH: For some substrates and sealants, the pH level of the surface can impact bonding.
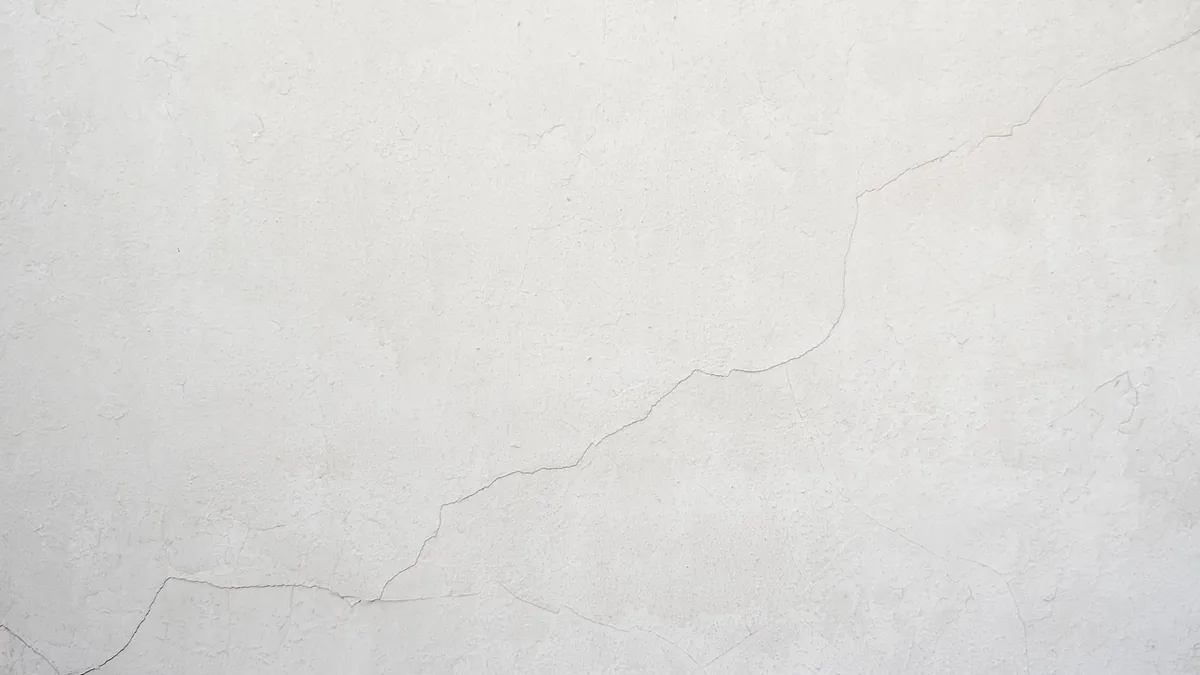
- Repairing structural defects: Cracks, spalls, or loose material must be addressed before sealant application, as the sealant is not designed to bridge significant structural gaps or bond to unstable substrates.
Consider sealing a concrete basement wall. General cleaning might involve sweeping cobwebs and brushing off loose dust. However, proper surface preparation would involve pressure washing to remove dirt and mildew, degreasing to eliminate any oil stains from previous leaks, patching cracks with appropriate repair mortar, and allowing the surface to dry completely before applying a waterproofing membrane. The sealant needs to grip the concrete itself, not just the layer of grime on top of it.
Shared Benefits and Overlaps
Despite their differences, both general cleaning and dedicated surface preparation share common benefits and often involve overlapping steps. The more thorough the initial general cleaning, the less intensive the subsequent preparation might need to be.
The overarching benefit of both approaches, when applied before sealing, is the enhancement of adhesion. Any foreign material, whether visible or microscopic, acts as a barrier between the sealant and the substrate. Removing these barriers allows the sealant to form a direct, strong bond.
Other shared benefits include:
- Improved aesthetics: A clean surface allows the sealant to apply more smoothly and evenly, resulting in a neater, more professional finish.
- Reduced material waste: Sealant applied to a dirty or improperly prepared surface may not cure correctly or may fail prematurely, leading to the need for more material and labor to fix the issue.
- Enhanced durability: A well-adhered sealant is less prone to peeling, cracking, or delaminating, extending its useful life and the protection it provides.
- Easier inspection: A clean surface makes it easier to identify existing cracks, imperfections, or areas requiring special attention before sealing.
For example, when preparing a deck for a waterproof coating, the first step is often to sweep or blow off loose leaves and dirt (general cleaning). This immediately makes it easier to see mildew stains, loose paint flakes, or splintered wood that require more targeted surface preparation, such as scrubbing with a deck cleaner, sanding, or power washing. The general cleaning phase streamlines the subsequent, more detailed preparation.
When General Cleaning May Be a Better Fit (or Sufficient)
There are specific scenarios where a simple, general cleaning might be adequate as a preliminary step, or in rare cases, sufficient on its own, especially for non-critical, temporary, or low-stress sealing applications.
Consider situations where:
- The sealant is temporary or easily replaceable: For instance, applying a temporary caulk bead around a window frame to prevent a draft until a more permanent solution can be implemented. If the caulk fails in a few months, the consequences are minimal.
- The substrate is inherently non-porous and minimally contaminated: Applying a silicone sealant to clean, new ceramic tile in a dry area. If the tiles are brand new and wiped free of manufacturing dust, extensive chemical treatment might be overkill.
- The adhesion demands are low: Sealing a non-load-bearing, non-structural seam where a perfect, long-term waterproof bond isn’t the absolute priority. An example might be sealing the edge of a plastic liner in a decorative pond where minor seepage isn’t catastrophic.
- The sealant itself has forgiving adhesion properties: Some sealants are designed to tolerate minor surface imperfections or residual dust, though this is rare for true waterproofing applications. Always check the manufacturer’s specifications.
In these cases, a simple wipe-down with a clean cloth, a brush, or a light rinse might suffice to remove loose dust, dirt, or debris. The trade-off is often reduced longevity and reliability compared to a fully prepared surface. The risk associated with sealant failure is the primary determinant here. If a failure leads to significant water damage, mold growth, or structural compromise, general cleaning is almost never enough.
For instance, if you’re quickly resealing a small, non-critical gap in a tool shed roof with a temporary patch, and the surface is relatively clean of visible debris, a quick brush-off might be acceptable. The expectation is that this is a short-term fix, not a permanent waterproofing solution.
When Dedicated Surface Preparation for Sealant May Be a Better Fit
For the vast majority of waterproofing applications, particularly those involving critical structures, long-term durability, or exposure to harsh elements, dedicated surface preparation is not just a better fit but an absolute necessity.
This approach is crucial when:
- The application is for critical waterproofing: Basements, roofs, foundations, shower enclosures, swimming pools, external building envelopes. These areas demand uncompromising sealant performance to prevent water damage, structural decay, and health hazards like mold.
- Long-term durability is a primary requirement: You expect the sealant to last for many years without failure, minimizing maintenance and reapplication.
- The surface is porous or absorbent: Concrete, stucco, wood, masonry. These materials can harbor moisture, dirt, and efflorescence within their pores, which must be addressed.
- The surface is contaminated with oils, grease, mildew, or old coatings: These contaminants directly interfere with adhesion. Examples include garage floors, commercial kitchens, or surfaces previously treated with release agents.
- The sealant is high-performance or specialized: Many advanced waterproofing membranes, epoxy coatings, or specialty sealants have very specific surface preparation requirements outlined by the manufacturer to achieve their advertised performance characteristics.
- The environment is harsh: Areas exposed to constant moisture, UV radiation, extreme temperature fluctuations, or chemical exposure will stress the sealant, making optimal adhesion even more critical.
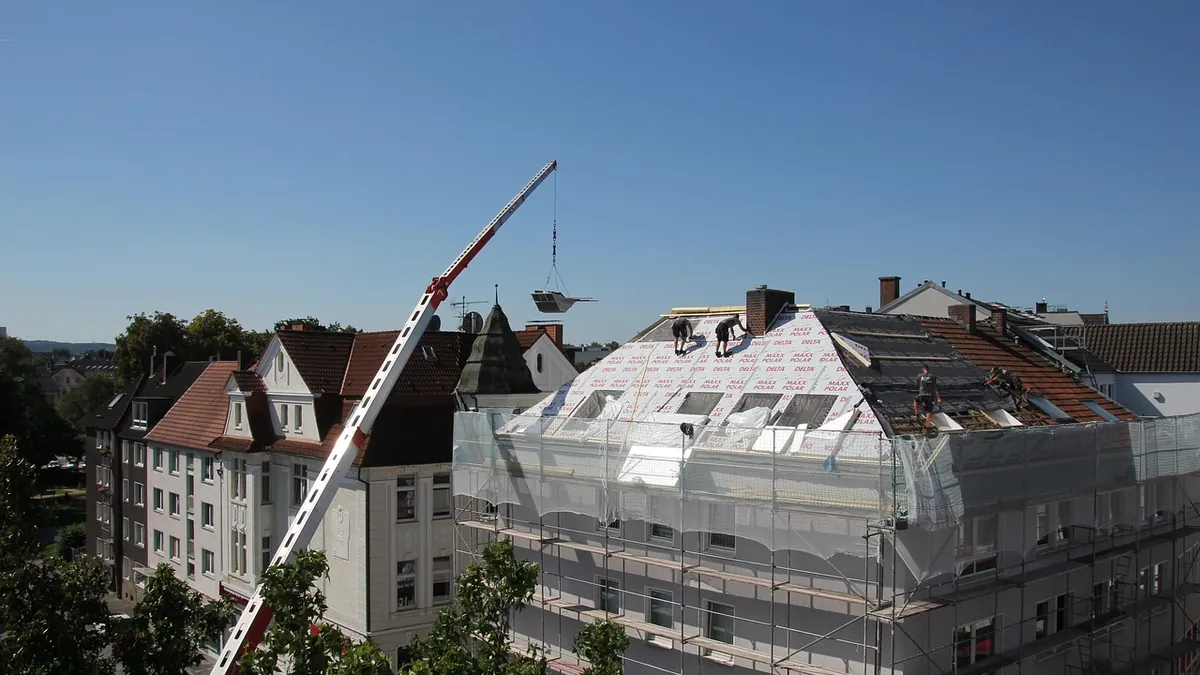
Consider waterproofing a flat roof. This isn’t just about sweeping away leaves. It involves:
- Removing all loose gravel or debris.
- Pressure washing to eliminate embedded dirt, algae, and moss.
- Repairing any existing cracks or blisters in the old membrane.
- Allowing the surface to dry completely (often requiring several days of dry weather).
- Applying a primer specifically designed for the roofing material and sealant.
- Ensuring the temperature and humidity conditions are within the manufacturer’s specified range during application.
Each of these steps is a part of comprehensive surface preparation, directly contributing to the sealant’s ability to bond effectively and provide a long-lasting waterproof barrier. Skipping any of these steps significantly increases the risk of premature failure.
How to Choose Based on Goals and Context
Selecting the appropriate level of surface cleaning and preparation hinges on a careful assessment of your project’s goals, the specific context, and the type of sealant being used. There’s no one-size-fits-all answer, but a structured approach can guide your decision.
Here’s a comparison table to help differentiate when to prioritize general cleaning versus comprehensive surface preparation:
| Feature/Consideration | General Cleaning (Less Intensive) | Dedicated Surface Preparation (More Intensive) |
|---|---|---|
| Project Type | Temporary fixes, non-critical areas, quick touch-ups. | Critical waterproofing (basements, roofs, showers), long-term seals. |
| Risk of Failure | Low to moderate consequences (minor leaks, aesthetic issues). | High consequences (water damage, structural issues, mold). |
| Expected Lifespan | Short-term (months to 1-2 years). | Long-term (5+ years, often decades). |
| Surface Condition | Relatively clean, minimal visible dirt/dust, new materials. | Contaminated, aged, porous, previously coated, efflorescence. |
| Sealant Type | Basic caulks, temporary patches, non-structural adhesives. | High-performance waterproofing membranes, structural sealants, epoxies. |
| Environmental Stress | Low exposure to moisture, UV, temperature fluctuations. | High exposure to moisture, UV, chemicals, thermal cycling. |
| Cost/Effort | Low effort, minimal specialized tools, quick turnaround. | High effort, specialized tools (pressure washers, grinders, chemicals), significant time. |
| Primary Goal | Remove loose debris, improve appearance. | Maximize adhesion, ensure durability, prevent water ingress. |
Decision-Making Framework:
Identify the Criticality of the Seal: Is this a structural waterproofing job (e.g., basement foundation, flat roof) or a cosmetic seal (e.g., around a non-leaking window)?
- High Criticality: Always opt for dedicated surface preparation.
- Low Criticality: General cleaning might be acceptable, but consider the potential for re-work.
Assess the Surface and its Contaminants:
- Is it new and relatively clean, or old, dirty, and potentially compromised (mold, oil, loose material)?
- What is the material (concrete, wood, metal, plastic)? Each material has specific preparation needs.
- Are there existing coatings or sealants that need to be removed?
Consult the Sealant Manufacturer’s Instructions: This is paramount. Every reputable sealant will come with specific surface preparation guidelines. Adhering to these is crucial for warranty validity and performance. These instructions will detail:
- Required cleanliness levels.
- Acceptable moisture content.
- Recommended primers.
- Curing times for repair materials.
- Application temperature ranges.
Consider Time and Budget Constraints: While it might seem faster or cheaper to skip steps, the cost of sealant failure (water damage, mold remediation, re-application) almost always far outweighs the savings from inadequate preparation. Invest the time and resources upfront.
Example Scenario:
You need to seal a newly installed acrylic shower base to the tile surround.
- Criticality: High. Leaks here can cause significant water damage to the subfloor and walls.
- Surface: New acrylic (smooth, potentially oily from manufacturing), new ceramic tile (smooth, potentially dusty from grout residue).
- Manufacturer Instructions: The sealant manufacturer will likely recommend cleaning both surfaces with denatured alcohol or another solvent to remove manufacturing residues and dust, followed by a dry wipe. No heavy abrasion is usually needed for these smooth surfaces, but absolute cleanliness is key.
- Conclusion: Dedicated surface preparation is required, focusing on chemical cleanliness and dryness, rather than just a quick wipe.
By systematically evaluating these factors, you can make an informed decision that balances efficiency with the necessary level of preparation for a successful and lasting waterproof seal.
Frequently Asked Questions
What is clean surface before sealant?
“Clean surface before sealant” refers to the state a substrate must be in to allow a sealant to adhere properly and perform its intended function. It goes beyond mere visual cleanliness. For sealant application, a clean surface means it is free from all contaminants that could interfere with adhesion, including visible dirt, dust, grease, oils, waxes, loose particles, efflorescence, mold, mildew, chemical residues, and excessive moisture. The specific definition of “clean” can vary based on the sealant type and substrate, but the underlying principle is to provide an uncompromised bonding surface.
How does clean surface before sealant compare with alternatives?
The primary “alternative” to a clean surface before sealant is an unclean or improperly prepared surface. The comparison isn’t about choosing between different methods of surface preparation, but rather between proper preparation and neglect.
| Feature | Clean Surface Before Sealant (Proper Prep) | Unclean/Improperly Prepared Surface (Neglect) |
|---|---|---|
| Adhesion | Optimal, strong, long-lasting bond. | Poor, weak, short-lived bond; high risk of delamination/peeling. |
| Sealant Performance | Full waterproofing capabilities; resistance to environmental stressors. | Compromised performance; increased permeability; premature failure. |
| Durability | Maximized lifespan of the sealant and protection. | Significantly reduced lifespan; frequent need for repair or reapplication. |
| Cost-Effectiveness | Higher upfront effort/cost, but lower long-term maintenance and repair costs. | Lower upfront effort/cost, but much higher long-term costs due to failures. |
| Risk of Failure | Minimized risk of leaks, water damage, mold, and structural issues. | High risk of leaks, water damage, mold, structural damage, and health hazards. |
| Appearance | Smooth, uniform, professional finish. | Irregular, uneven, potentially blistered or cracked appearance. |
There are no viable “alternatives” to ensuring a clean surface for effective sealant application. Any deviation from proper preparation essentially means compromising the integrity and longevity of the seal, leading to inevitable problems down the line.
What are the most common mistakes people make with clean surface before sealant?
Many common mistakes stem from underestimating the importance of surface preparation or misinterpreting what “clean” truly means for sealant application.
- Assuming “Looks Clean” is “Is Clean”: A surface can appear clean to the naked eye but still harbor invisible contaminants like oils, waxes, release agents, or efflorescence that severely inhibit adhesion.
- Insufficient Drying Time: Applying sealant to a surface that is still damp, or has moisture trapped within its pores, is a leading cause of sealant failure (e.g., blistering, poor adhesion, fungal growth). Even if the surface feels dry, internal moisture can be an issue, especially with porous materials like concrete.
- Neglecting Old Sealant/Paint Removal: Trying to apply new sealant over old, failed sealant, peeling paint, or loose coatings. The new sealant will only bond to the weak, unstable layer beneath it, leading to rapid failure.
- Improper Degreasing/Chemical Residue: Using a cleaner that leaves its own residue (e.g., soap films, oily detergents) or not thoroughly rinsing off cleaning chemicals. These residues can be as detrimental as the original contaminants.
- Skipping Primer (When Required): For many challenging substrates or high-performance sealants, a specific primer is essential to promote adhesion. Ignoring this step, even on a clean surface, can lead to failure.
- Ignoring Temperature and Humidity: Applying sealant when the surface temperature or ambient humidity is outside the manufacturer’s recommended range can affect curing and adhesion properties.
- Not Addressing Substrate Integrity: Applying sealant over crumbling concrete, rotting wood, or loose mortar. The sealant cannot compensate for a structurally unsound substrate; repairs must be made first.
- Cross-Contamination: Reusing dirty rags, brushes, or tools, or allowing dust from nearby work to settle on the prepared surface before sealant application.
- Lack of Abrasive Preparation (When Needed): For very smooth or non-porous surfaces, a light abrasion (sanding, grinding) might be necessary to create a “profile” that the sealant can grip onto. Simply wiping might not be enough.
Avoiding these common pitfalls requires careful attention to detail, adherence to manufacturer guidelines, and a solid understanding of the principles of sealant adhesion.
Conclusion
The success of any waterproofing project hinges on meticulous surface preparation. While general cleaning removes visible debris, true surface preparation for sealant application delves deeper, addressing invisible contaminants, moisture content, and surface profile to ensure an optimal bonding environment. Choosing the right level of preparation depends on the criticality of the seal, the surface type, and the sealant’s specifications. Neglecting proper preparation is a false economy, leading to premature sealant failure, costly repairs, and potential water damage. By investing the necessary time and effort into cleaning and preparing your surfaces, you lay the foundation for a durable, effective, and long-lasting waterproof seal. Always consult the sealant manufacturer’s instructions as your primary guide for specific preparation requirements.
DIY safety disclaimer
Home Leak Fix publishes general DIY information for homeowners. Water intrusion can involve structural, electrical, height, mould, or insurance risks. Use proper safety equipment, follow local building rules, and call a qualified professional when a repair is unsafe, unclear, or beyond your experience.